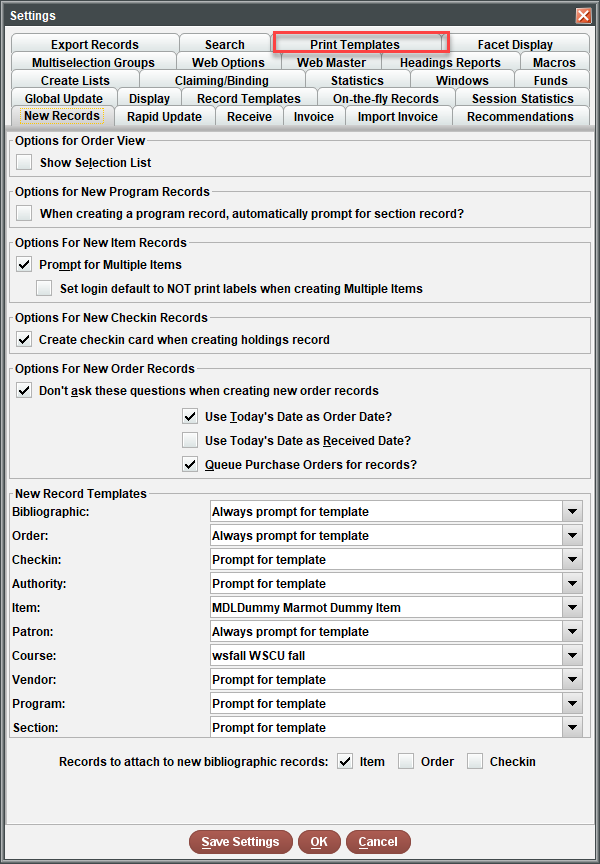
Print templates provide customization and flexibility to specific print jobs, enabling libraries to design an output that best fits their needs.
Print templates can be assigned to the following forms:
Paging Lists
Paging Slips
Default Print Templates
Innovative provides default templates for the above forms. Several libraries will utilize the default template rather than creating a custom one. These templates are bare bones and will have basic information and formatting. Templates named with a “_” are the iii default template, e.g.: _Overdue. Templates named MarmotDefault or MLNDefault are print templates created by Marmot staff with minimal customization that can be used by any library.
iii Default Example
The null values indicate data that will populate when the print template is printed.

Marmot Default Example

Custom Print Templates
Marmot staff can create custom print templates for the above forms using the Jaspersoft Studio software. Customizing the print templates allows for flexibility in formatting and the information included on the form. Custom print templates will have the library’s name as well as some descriptive information. For example: “CMCOdue” for Colorado Mountain College Overdue.
Example
The below example shows the customizability of print templates based on the type of library – this print template is used by School District 51 and has the “Homeroom” field, which the default templates do not.

Assigning Print Templates to Your Login
The following permissions have to be assigned to your account in Sierra in order to view the Print Template settings:
Permission 282 - Preview Print Templates
Permission 283 - Update Print Templates Tab
If you do not have access to the Print Templates settings, it is likely that you are missing one of these permissions. Contact Marmot to get these permissions assigned.
To assign a print template to your Sierra login or to view the print templates you have assigned, follow the instructions below:
First, log in to Sierra with the login that needs the print template assigned.
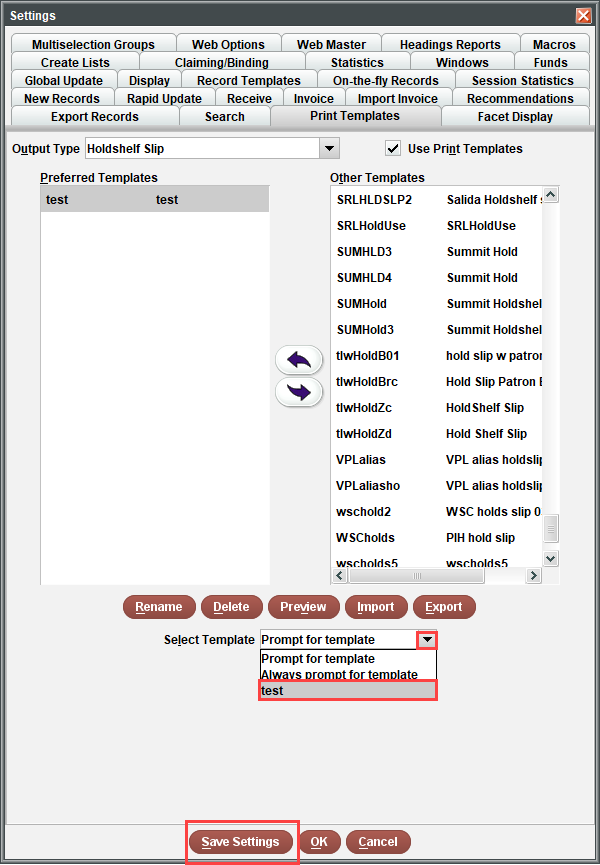
Then, use the following path to navigate to Print Templates on Sierra: Admin > Settings
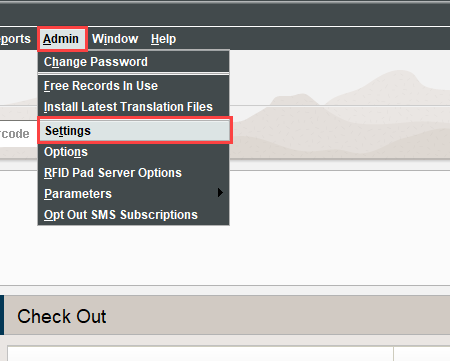
In the popup Settings menu, select Print Templates
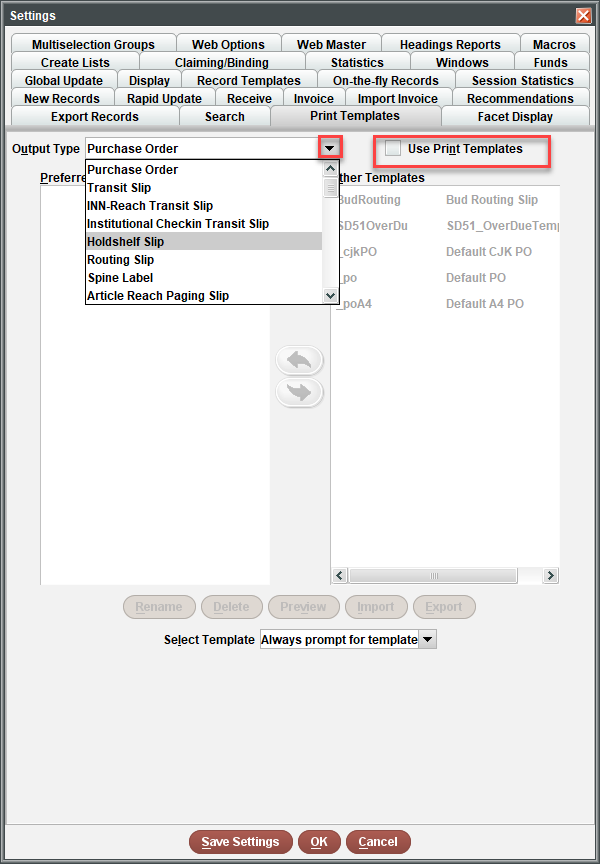
Click the dropdown arrow to the right of the Output Type box to select the specific category of Print Templates. Note: If the box to the left of Use Print Templates is not checked, the Preferred Templates and Other Templates boxes will be greyed out and you will not be able to select a print template.
Find the print template to assign to the login and click on it to highlight it. Then click the arrow that points to the left to move the print template into the Preferred Templates box.
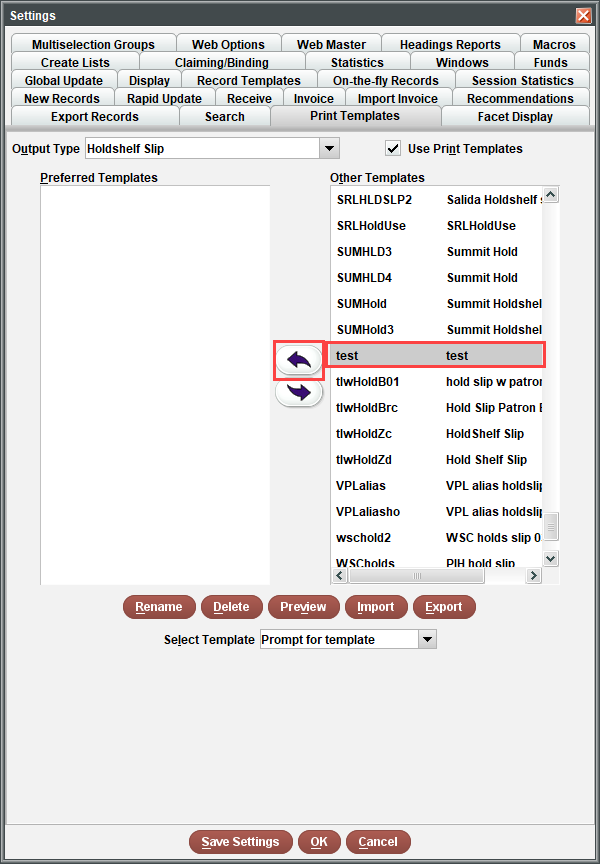
Lastly, click the drop-down button next to the Select Template field at the bottom to choose the template from the menu. Then click Save Settings. Once the template is assigned as such, this print template will automatically be used any time this specific output type is printed. This process needs to be replicated on each login that needs the slip assigned.
Marmot staff can also assign a print template to any login. Submit a Service Request if you would like a staff member to assign print templates (please include the logins that need the print template assigned in your request).