This article describes how to use the Marmot Help Desk ticketing system.
Portal Link: Marmot Help Desk Portal
| Anchor | ||||
|---|---|---|---|---|
|
| Table of Contents | ||||
|---|---|---|---|---|
|
Accessing the Help Desk
Requesting an account for the Help Desk
| Info |
|---|
Please use one of the following contact methods to request access to the Marmot Help Desk. If you need approval, please have your supervisor contact us with the request. |
Local: (970) 242-3331 ext. 0
Toll Free: (800) 680-0199 ext. 0
Email: marmothelp-at-marmot.org
How to log in to the Help Desk
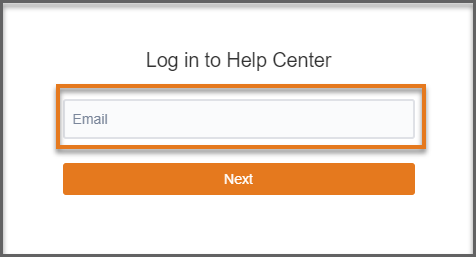
Navigate to Marmot Help Desk Portal and log in with your email address for your library and click the Next button.
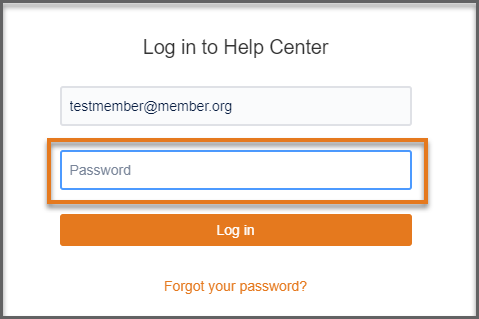
You will be directed to the screen where you can add your password. Once your password is entered click on the Log in button.
Resetting your password
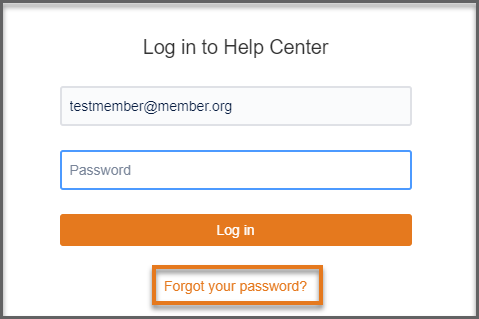
On the Log in to Help Center page enter your email address for your library.

Once you enter your email address, click on the link labeled “Forgot your password?”.
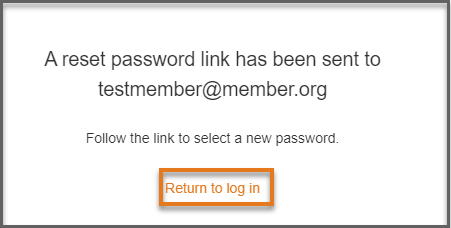
Once you click on the link to reset your password, a message will appear letting you know that a reset password link was sent to the email address you listed on the log in page. Click on the Return to log in link to log in to the portal for your new password.
Opening a service request
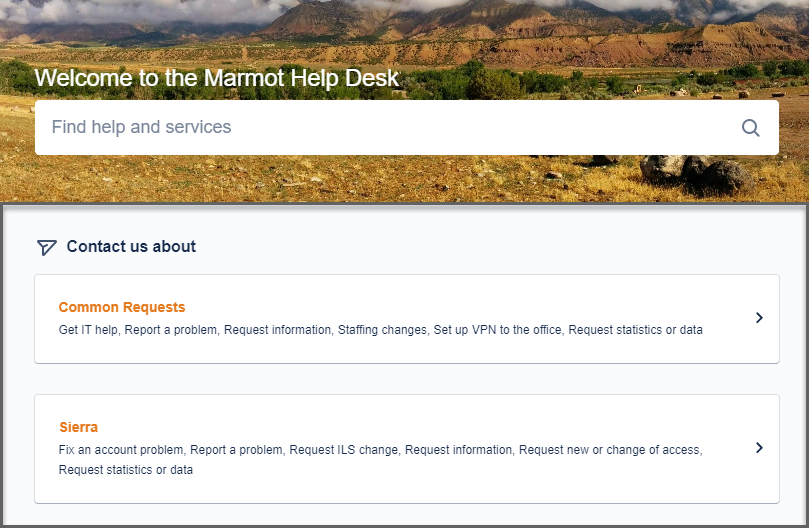
Once logged into the Marmot Help Desk portal, you will see all the options available to open up a service request. Below is a small sample of the requests that are available. You can use the search box to help find a service request or scroll down the page to see all the service requests available. See the Portal Group vs Request Types for more information.
| Info |
|---|
Each service request comes with a description to better help you navigate to the one that will work best of you. |
| Anchor | ||||
|---|---|---|---|---|
|
Portal Groups vs. Request Types
Portal Groups
The main page of the Help Desk has seven sections (see below) representing the individual services or areas. These sections represent the portal groups.
The following are the Portal Groups in the Help Desk
Common Requests
Sierra
Computers, Peripherals, & Software
Network, Internet, & Servers
Pika
Logins and Accounts
Digital Archive
Request Types
Within each of the Portal Groups, there are categories of the request types that are relevant to the particular portal group.
Example
The Sierra portal group has the following request types
Fix an account problem
Report a problem
Request ILS change
Request Information
Request new or change of access
Request statistics or data
Filling out request type template
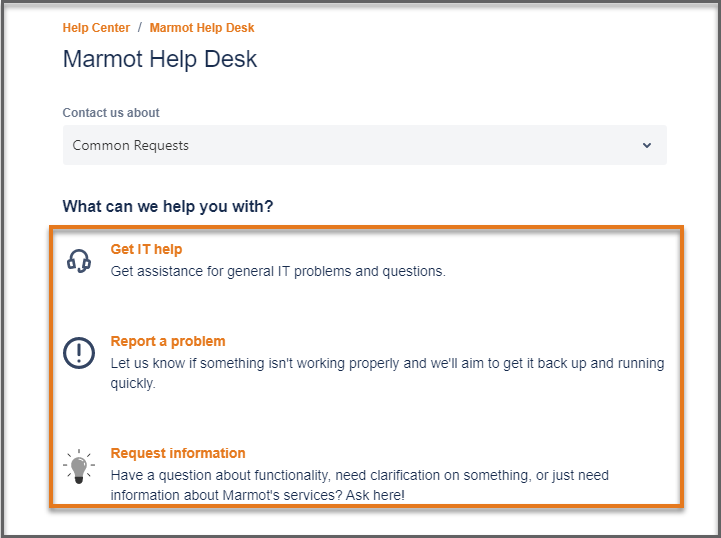
Example of a request type template
Here is an example of the Common Requests template. Once you click on the box for a service request, it will display a page that contains more options to help you choose the option that works best for your needs.
Once in a template, users can click on the down arrow on the right in the Contact us about field to change the Portal Group.
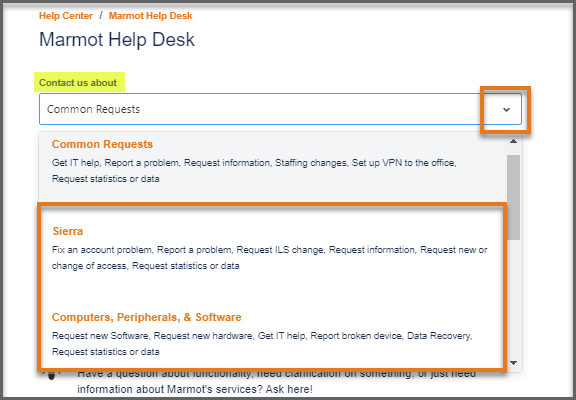
If you choose a service request and decide to use a different one, you can also click on the Marmot Library Network icon or the Help Center link to get back to the original homepage. The Marmot Help Desk link will bring you to the page with all the portal groups, but you will not have the option for the search field.

Required fields vs Optional fields
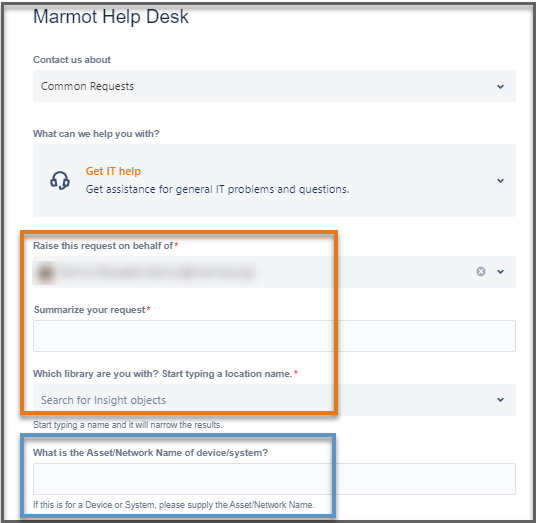
Here is an example of a service request that has required fields with an asterisk (orange box) or optional fields without the asterisk (blue box).

Special notes on location and devices fields
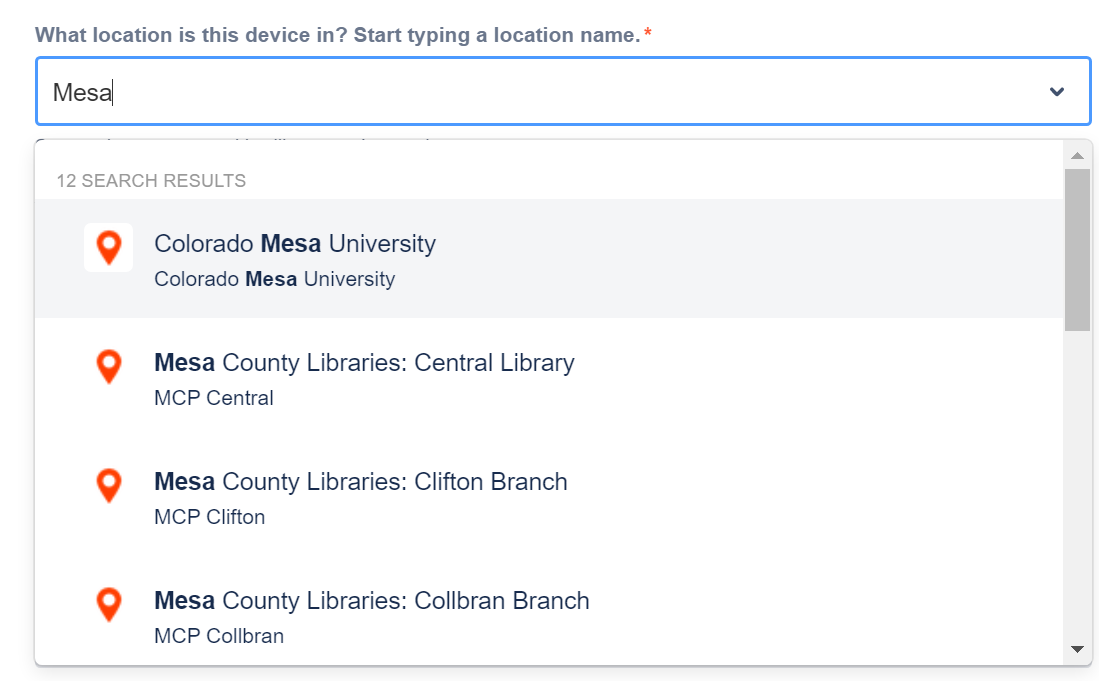
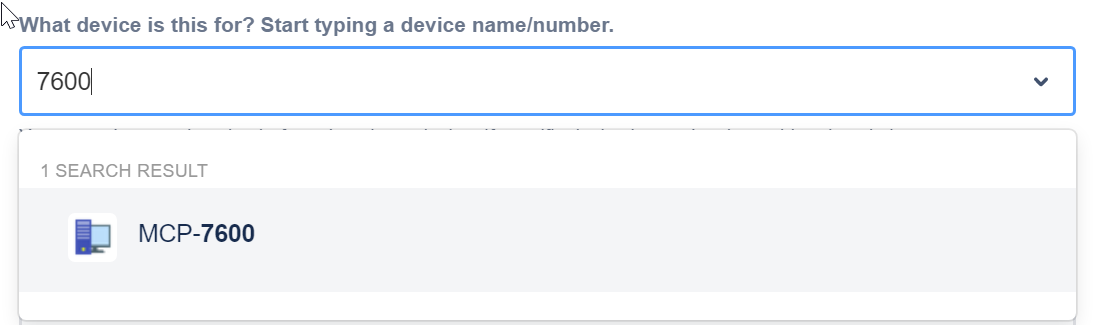
Fields for Location and Device will display as shown below. Click in these fields and begin typing to narrow the results.

Location
| Info |
|---|
Choose the location/branch for where the service request pertains. If there are multiple locations, you can either open multiple service requests or select a central location and refer to additional locations in the description. |
Device
| Note |
|---|
Note that the device field is only relevant for libraries that participate in Marmot IT. |
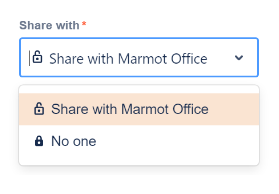
Sharing a service request
| Note |
|---|
Sharing a service request with your organization will allow all Marmot Help Desk users within your organization to also see and interact with the service request. To adjust this setting after the service request has been opened, or to share with specific individuals, click here for information. |
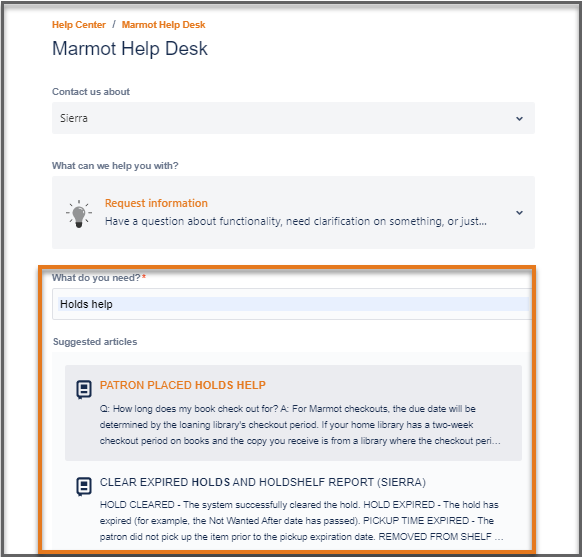
Knowledge base article integration
Once you start filling in the information for your service request, the Suggested articles section will appear with links to help documentation that may contain the answers you need so you do not have to continue with your service request.

Reviewing existing service requests
Adding new information to a service request
Log in to the Help Desk (if not already logged in)
Click Requests in the upper right-hand corner of the page
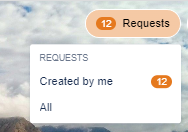
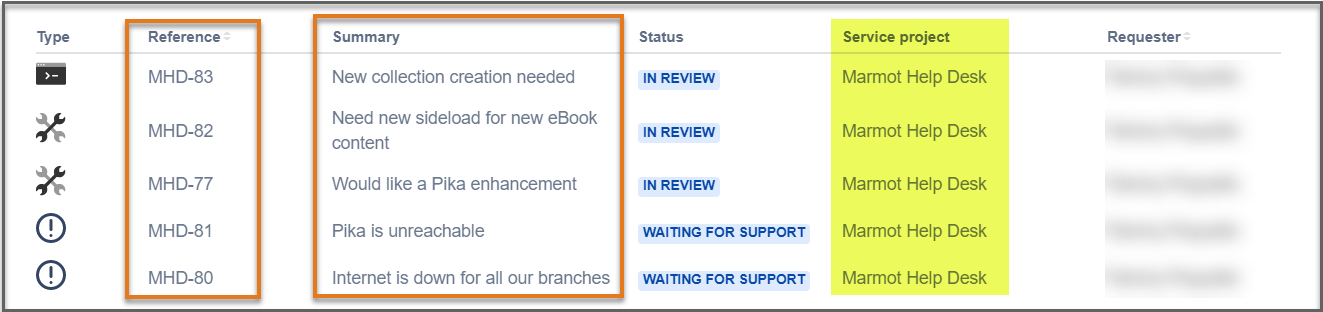
You can limit your search by using the filters located towards the top of the page. The Manage columns feature allows you to rearrange or temporarily remove the fields associated with all your requests.
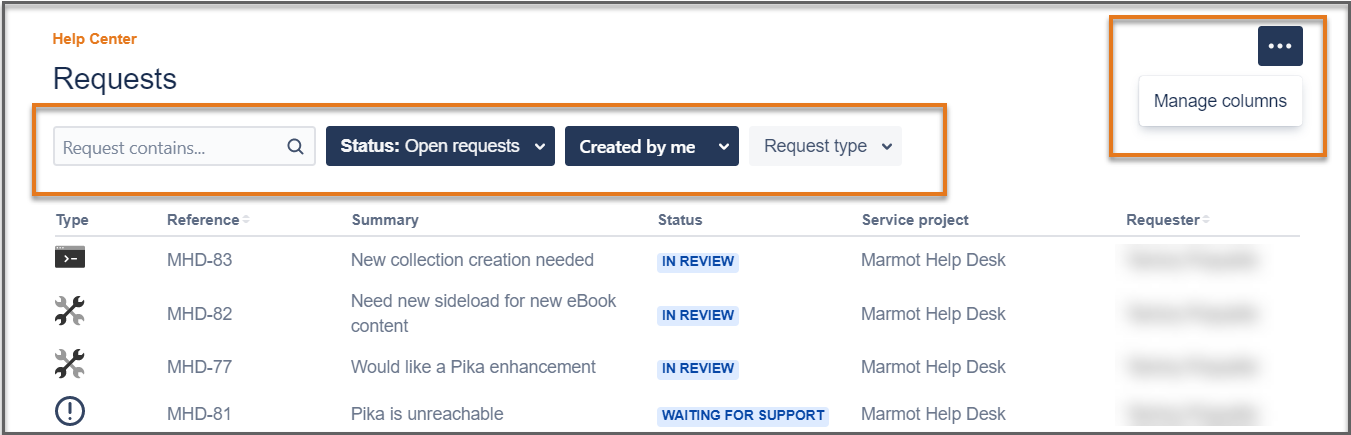
Find the request that you want to update and click the Reference number, or Summary link to open up the request. Clicking on the Service project link will bring you back to the Portal groups page.

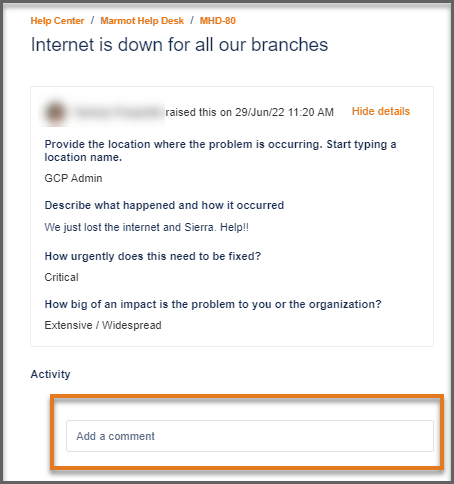
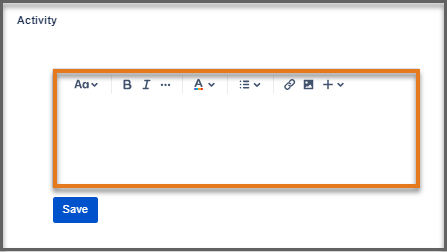
Use the comment section at the bottom of the request window to add more information or attachments.
| Anchor | ||||
|---|---|---|---|---|
|
Service Request Statuses
Service Requests can be filtered by the status

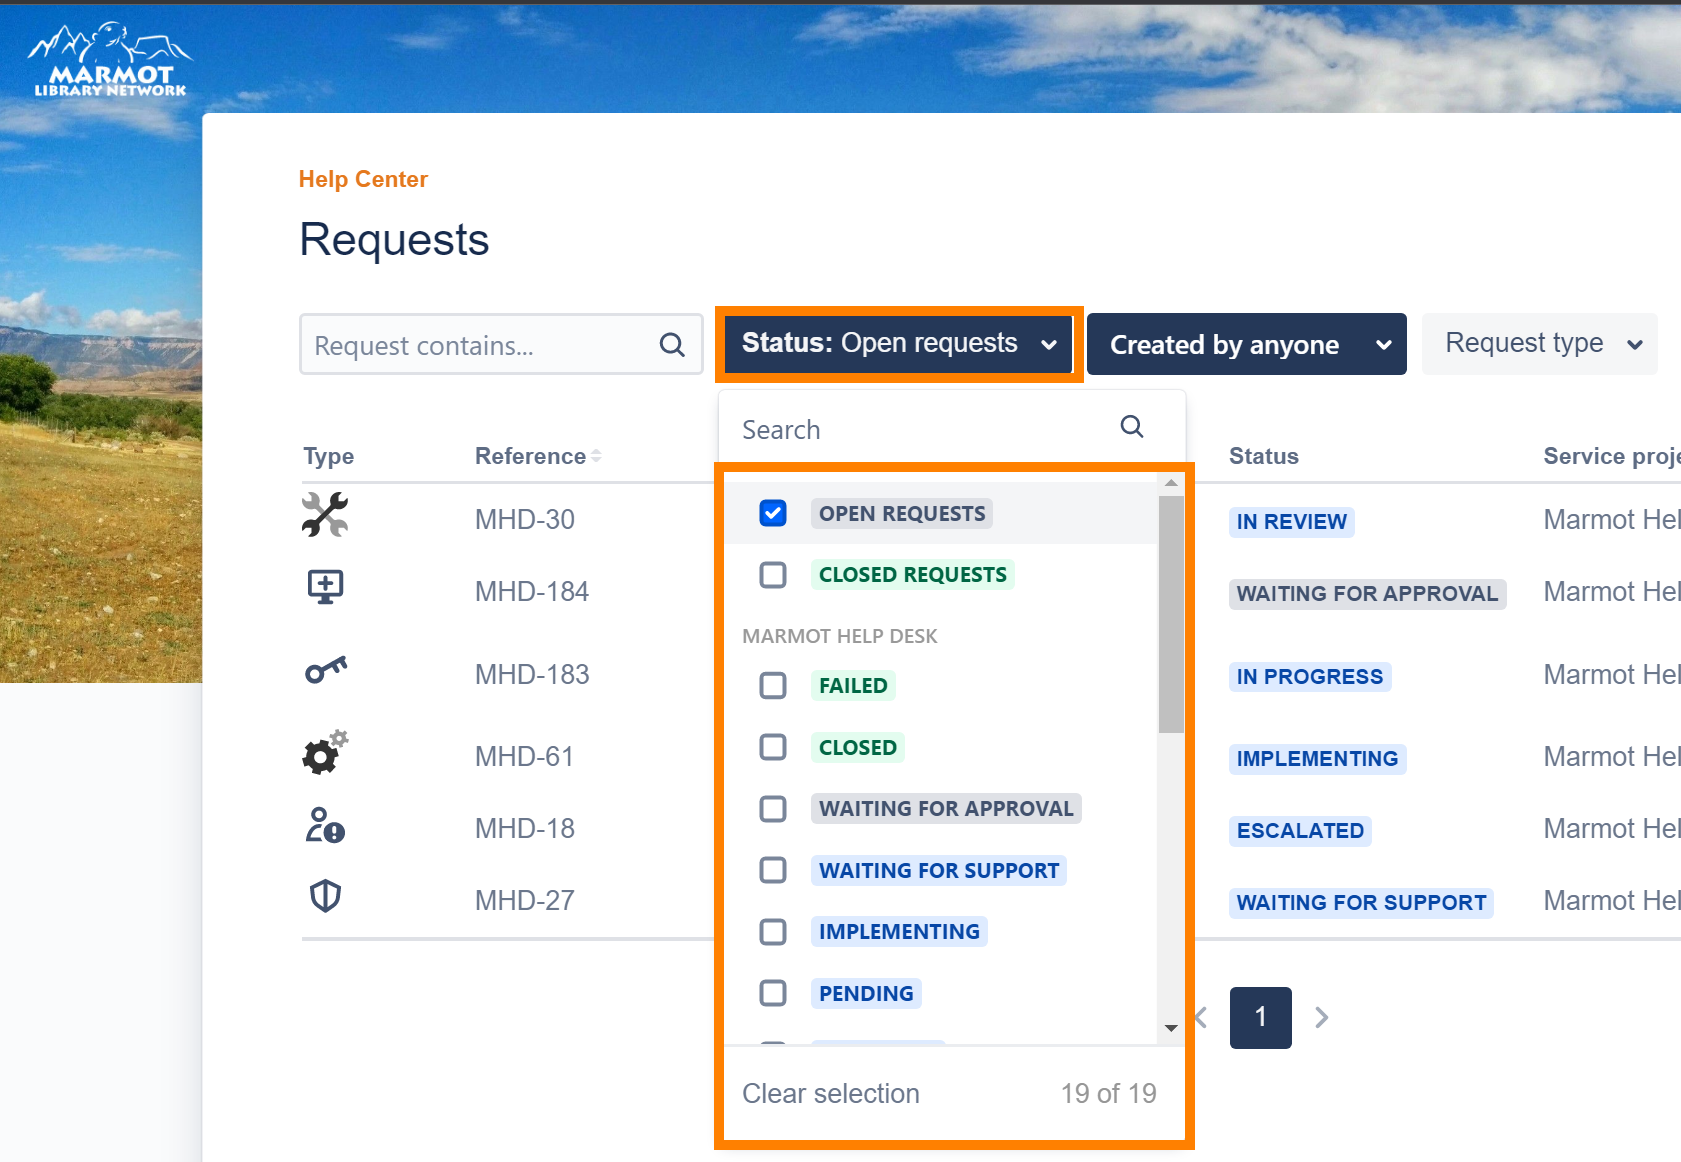
The most common needs are met with
Open Requests (all service requests with a status in the “open” category)
Closed Requests (all service requests with a status in the “closed” category)
Open status types
Initial statuses on-creation
Waiting for Support
In Review
Work in progress statuses
In Progress
Planning
Implementing
Pending/Waiting Statuses
Pending
Waiting for Approval
Authorize
Awaiting Implementation
Waiting for Customer
Escalated
Resolved/Closed status types
Cancelled statues
Failed
Declined
Cancelled
Resolved/Work Complete statuses
Resolved
Completed
Closed (Final status)
| Note |
|---|
A Service Request will automatically moved to a Closed status about one week following it being moved to a Resolved or Cancelled status. A Service Request cannot be reopened once becoming Closed. A new Service Request should be opened at that point. |
Sharing a service request with others
Log in to the Help Desk (if not already logged in)
Click Requests in the upper right-hand corner of the page

Find the request that you want to update and click the Reference number, or Summary link to open up the request. Clicking on the Service project link will bring you back to the Portal groups page.
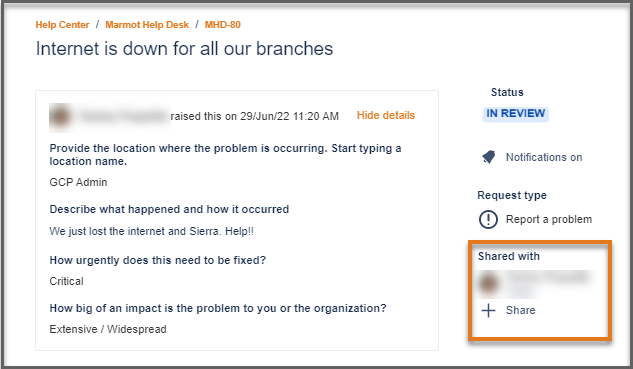
Find the Shared with section on the right panel of the request.
Sharing with individuals
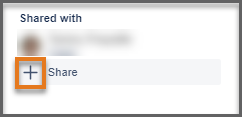
Click the + Share button
Type in the email address of the individual you want to share the request with

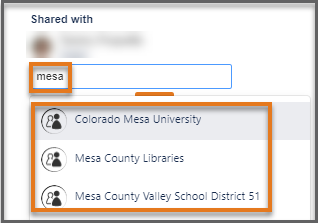
Sharing with an organization
Click the + Share button
Type in the name of the organization you want to share the request with
Approving a service request
Some Service requests require approval during the process. Examples of service types needing approval include Request new hardware and Request new software.
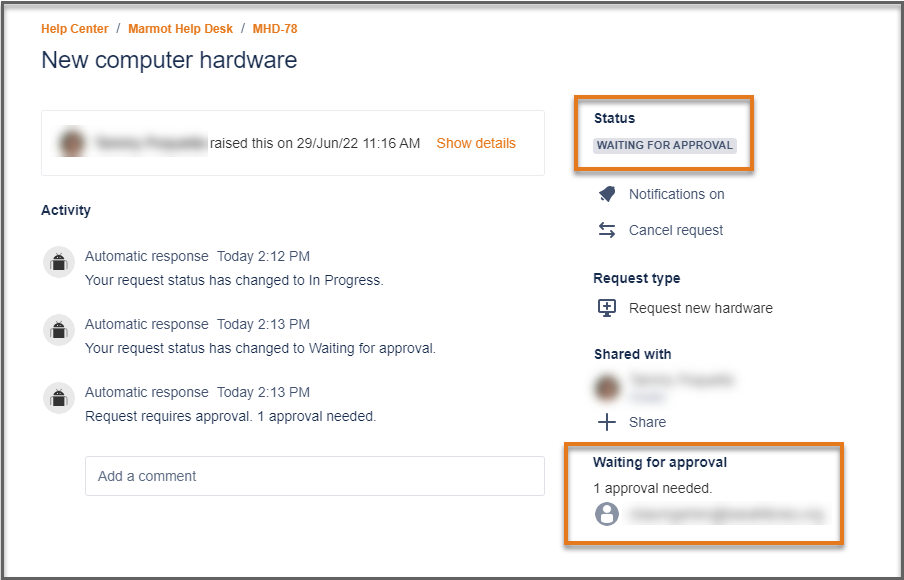
Once a Marmot staff member has moved your service request to the “Waiting for approval” status, a designated approver from your library would receive a notification.
The service request will have the status of “WAITING FOR APPROVAL” and at the bottom will be the email of the person who needs to approve the request.
This is an example of the screen of someone in your library who receives the email notification. They could log in to the Marmot Help Desk and view their Requests. The service request will have the status of “Waiting for Approval” and the Approve or Decline buttons.

Toggle notifications for an individual service request
Log in to the Help Desk (if not already logged in)

Click Requests in the upper right-hand corner of the page
Find the request that you want to update and click the Reference number, or Summary link to open up the request. Clicking on the Service project link will bring you back to the Portal groups page.

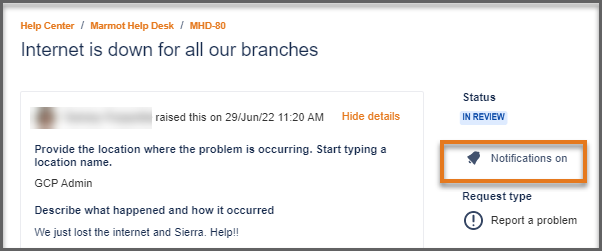
Find the 🔔 in the right panel of the request.
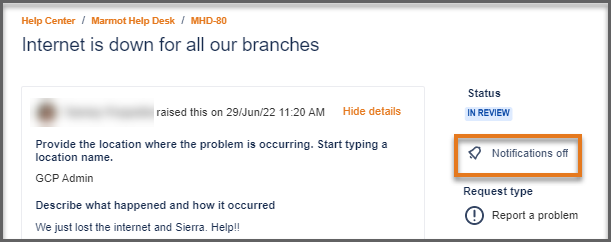
Click the 🔔 to toggle the notifications.
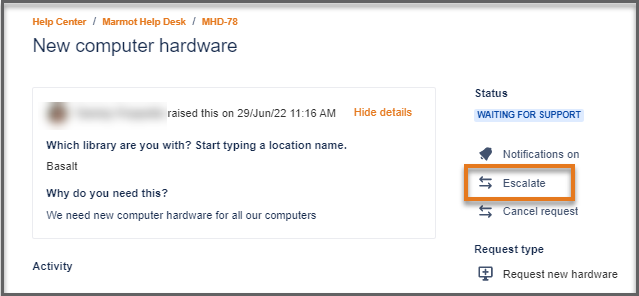
Escalating a service request
Depending on your request and where the request is in the process, you may have the ability to escalate a service request.
Log in to the Help Desk (if not already logged in)
Click Requests in the upper right-hand corner of the page
Find the request that you want to update and click the Reference number, or Summary link to open up the request. Clicking on the Service project link will bring you back to the Portal groups page.

Open up the service request and click on the Escalate link.
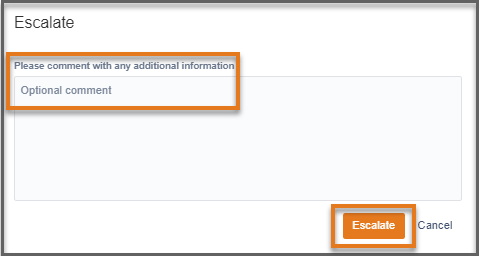
Once you click on the Escalate link, you will get the Escalate box to add an optional comment. Click the Escalate button.
Resolving or Canceling a service request
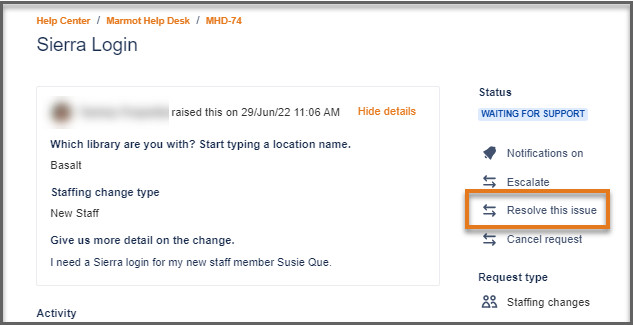
Resolving a service request
Depending on your request and where the request is in the process, you may have the ability to resolve a service request.
Log in to the Help Desk (if not already logged in)
Click Requests in the upper right-hand corner of the page
Find the request that you want to update and click the Reference number, or Summary link to open up the request. Clicking on the Service project link will bring you back to the Portal groups page.

Open up the service request and click on the Resolve this issue link.
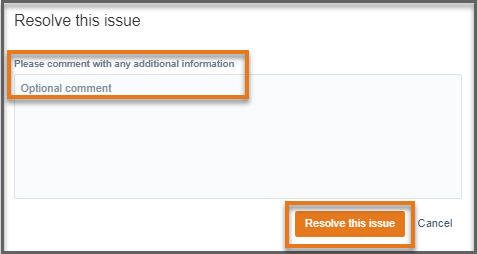
Once you click on the Resolve this issue link, you will get the Resolve this issue box to add an optional comment. Click the Resolve this issue button.
Canceling a service request
Depending on your request and where the request is in the process, you may have the ability to cancel a service request.
Log in to the Help Desk (if not already logged in)
Click Requests in the upper right-hand corner of the page
Find the request that you want to update and click the Reference number, or Summary link to open up the request. Clicking on the Service project link will bring you back to the Portal groups page.

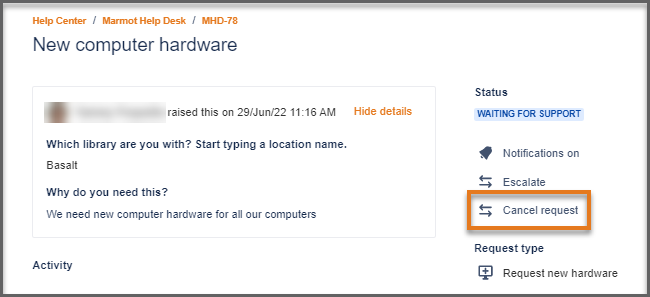
Open up the service request and click on the Cancel request link.
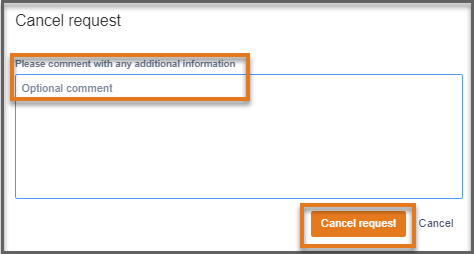
Once you click on the Cancel request link, you will get the Cancel request box to add an optional comment. Click the Cancel request button.
| Note |
|---|
Once a service request has a status of Closed the request can no longer be reopened by the customer or by Marmot staff |
Related Documentation
| Page Properties | ||||||
|---|---|---|---|---|---|---|
|